Studio Practice
The Process - Woodcut
Woodcut is the oldest form of relief printmaking. It began in China more than a thousand years ago and later found its way into Europe. The first printmakers carved hard woods such as cherry, pear, and birch. Today many artists work with Baltic birch plywood because it is strong, stable, and cuts well.
A relief print is simple in its idea. You cut away everything you do not want to print. What remains stands above the surface. Ink is rolled onto those raised areas, and the block is pressed against paper or cloth. The image appears where the ink has touched. The block itself is called the matrix. It is made to produce many prints from a single carved image.
Woodcut belongs to a larger family of relief printing. Linoleum, plastics, and some collagraphs work the same way. Linoleum is easier to cut and has introduced many artists to printmaking. Wood asks more of the hand. The grain has its own direction. The tools must stay sharp. A careless cut cannot be taken back. Yet the wood gives something in return. Its surface carries a quiet life of its own. The grain can become part of the image, and every block keeps a memory of the tree it once was.
The process is direct, but it is not easy. A black-and-white print has no true gray. White is simply the paper left untouched. Black comes from the ink. Between them the artist must build every shadow, every change of light, and every form with marks. A line can suggest distance. A cut can become light. Closely spaced marks can persuade the eye to see gray where there is none. The language of the print is made one cut at a time.
There is no single way to make a woodcut. Every printmaker develops a different hand. Some carve broad shapes with strong contrasts. Others fill the surface with fine lines and patterns. Color can be added by printing from several blocks, each cut and aligned with care. Even then the strength of the woodcut remains in its boldness. It does not hide what it is. It shows the cut, the grain, and the hand that made it.
Other forms of printmaking, such as intaglio and lithography, can produce softer transitions and finer detail. Woodcut speaks in a different voice. It simplifies. It leaves only what matters. Its power comes from restraint as much as from the marks themselves.
Printmakers have always experimented. They borrow tools, mix processes, and discover new ways to make images. Every generation adds something to the craft. Photography, photomechanical methods, and digital technology have all become part of that search. The tools change, but the purpose does not. A print begins with an idea, a surface, and the hand willing to cut away everything that does not belong.
I
Tools
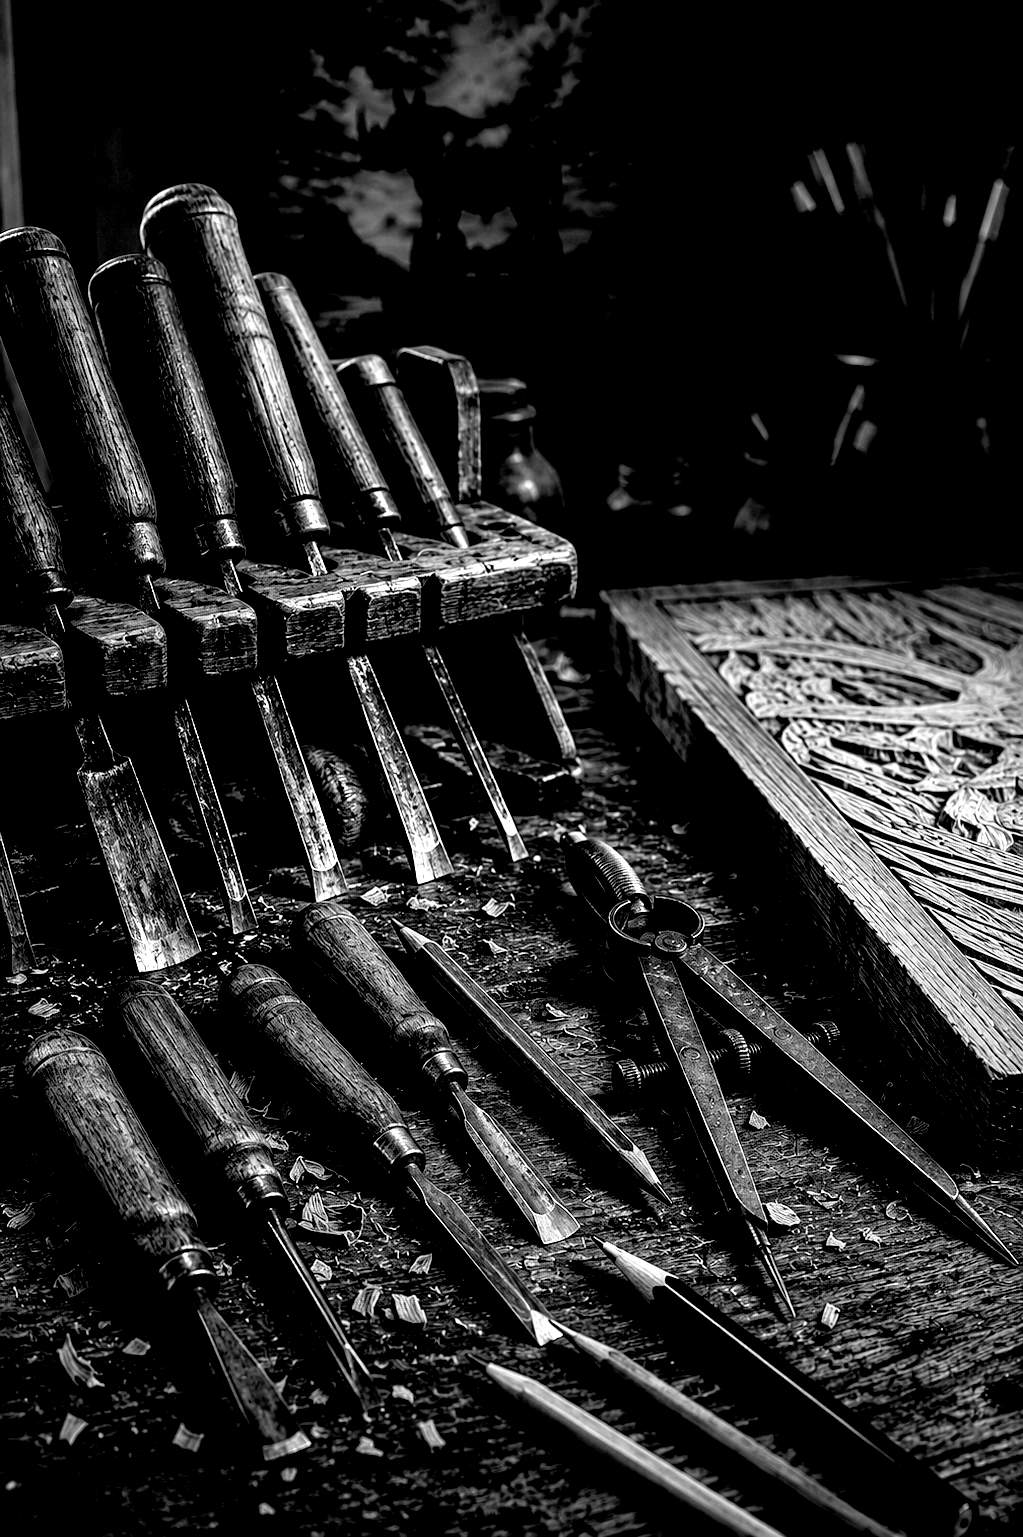
A woodcut begins with simple tools. Gouges sweep broad curves. V-tools cut sharp lines. Straight chisels clear flat ground, and knives define edges that must stay clean. A wooden mallet is sometimes used, though many printmakers trust only the pressure of the hand. The block itself is often Baltic birch plywood or a plank of cherry or pear. Ink is rolled with a brayer made of hard rubber. The print is taken on strong paper made to accept ink without losing its strength. Some artists print by hand. Others use an etching press. Every tool has one purpose. None of them does the work alone.
II
Carving the Block
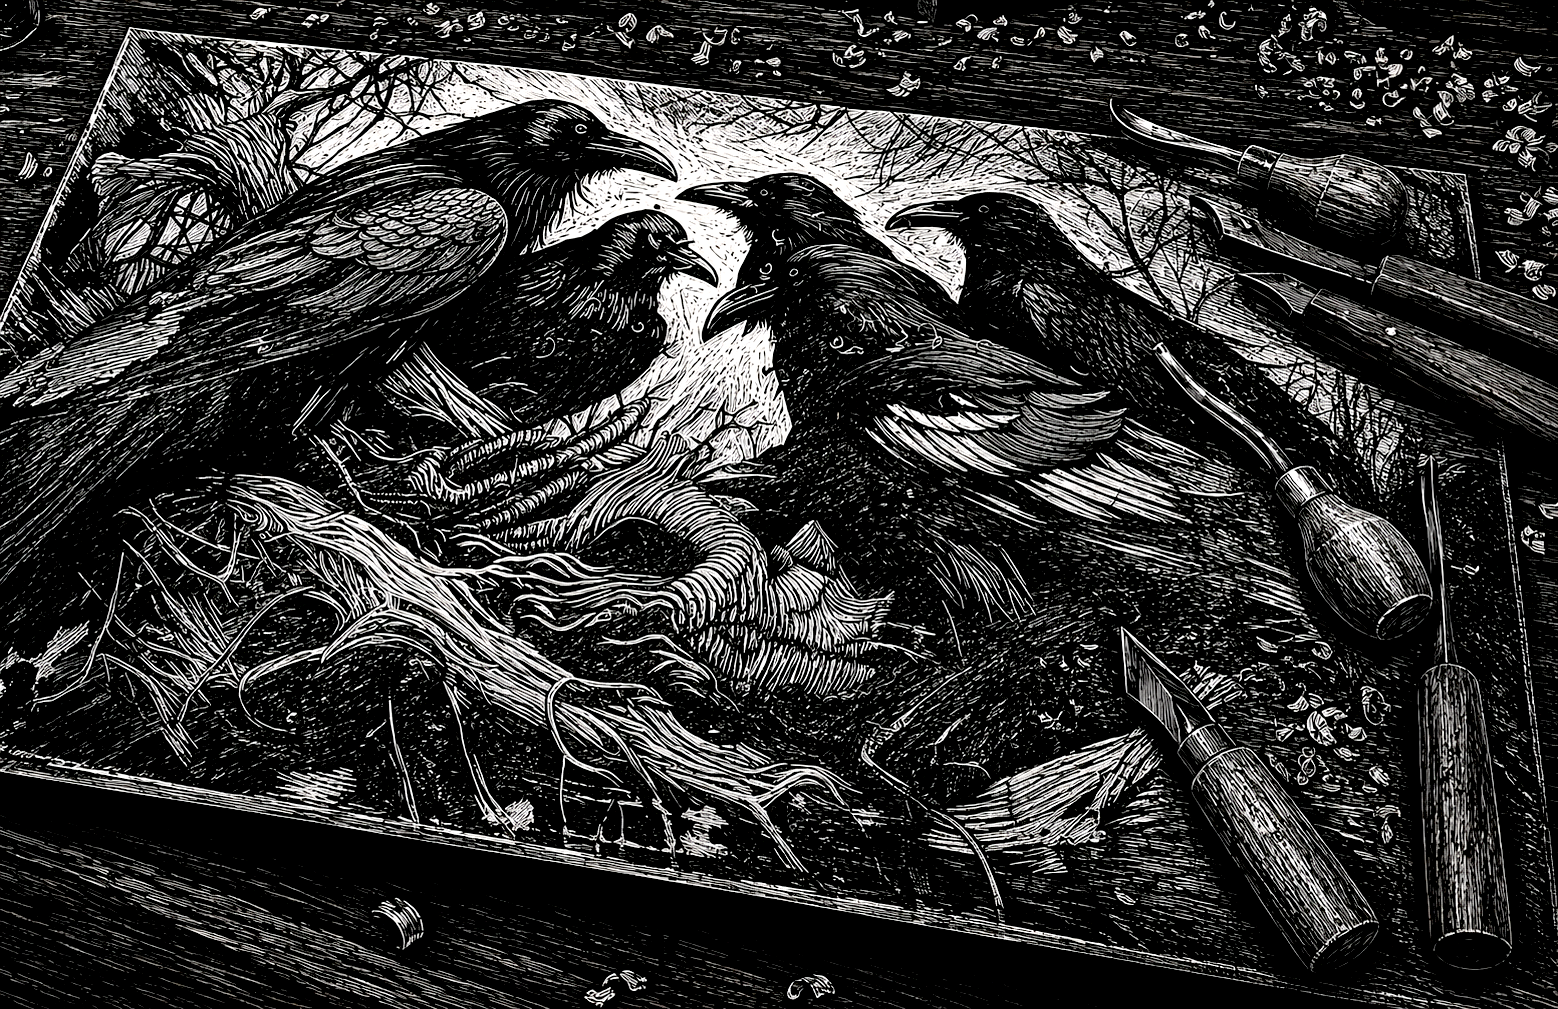
The image begins as a drawing. Some artists draw directly on the wood. Others transfer the design from paper, knowing that the finished print will be reversed. The first cut asks for confidence. Once wood is removed, it does not return. Every cut leaves a permanent decision. The carving moves slowly across the block, one line after another, until light and shadow begin to appear. The parts left standing will hold the ink. Everything carved away becomes the white of the paper. The picture is not built by adding. It is found by taking away.
III
Inking the Block
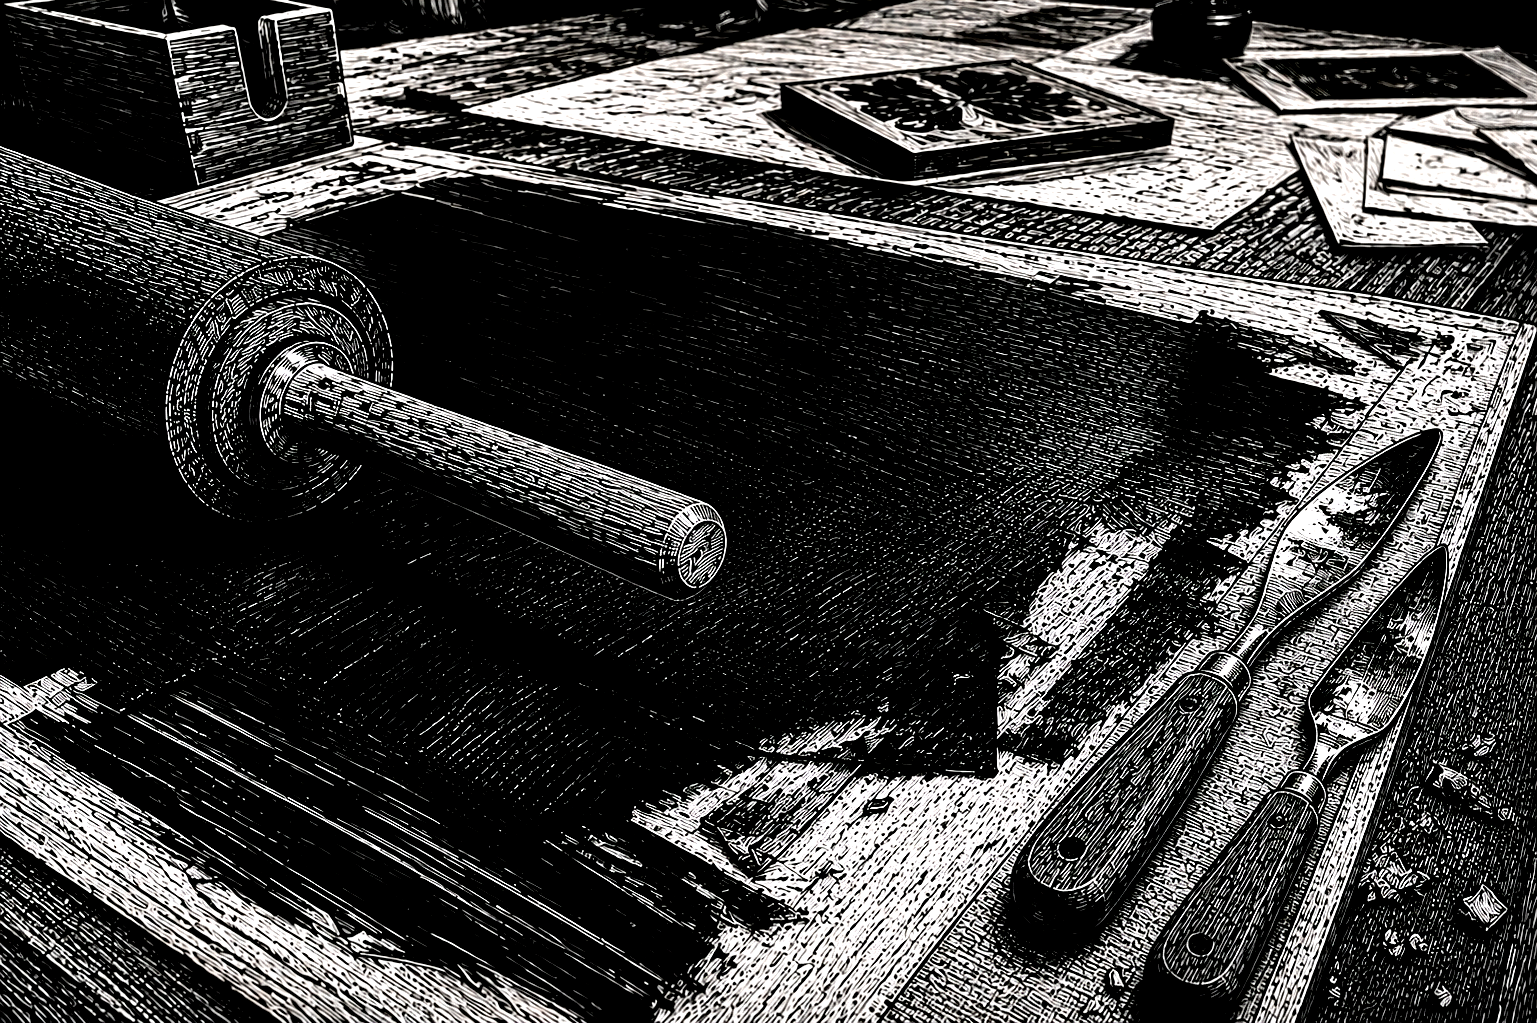
The ink is worked on a smooth slab of glass, steel, or stone. It is rolled back and forth until it reaches the right body and begins to whisper beneath the brayer. Water-based inks clean easily and dry quickly. Oil-based inks stay open longer and often produce a richer print. Each has its own character, and neither is right for every job. When the ink is ready, the roller carries a thin, even film across the surface of the block. Too much ink fills the fine marks. Too little leaves the print weak. The roller passes over the wood again and again until the surface holds only what it needs.
IV
Making the Prints
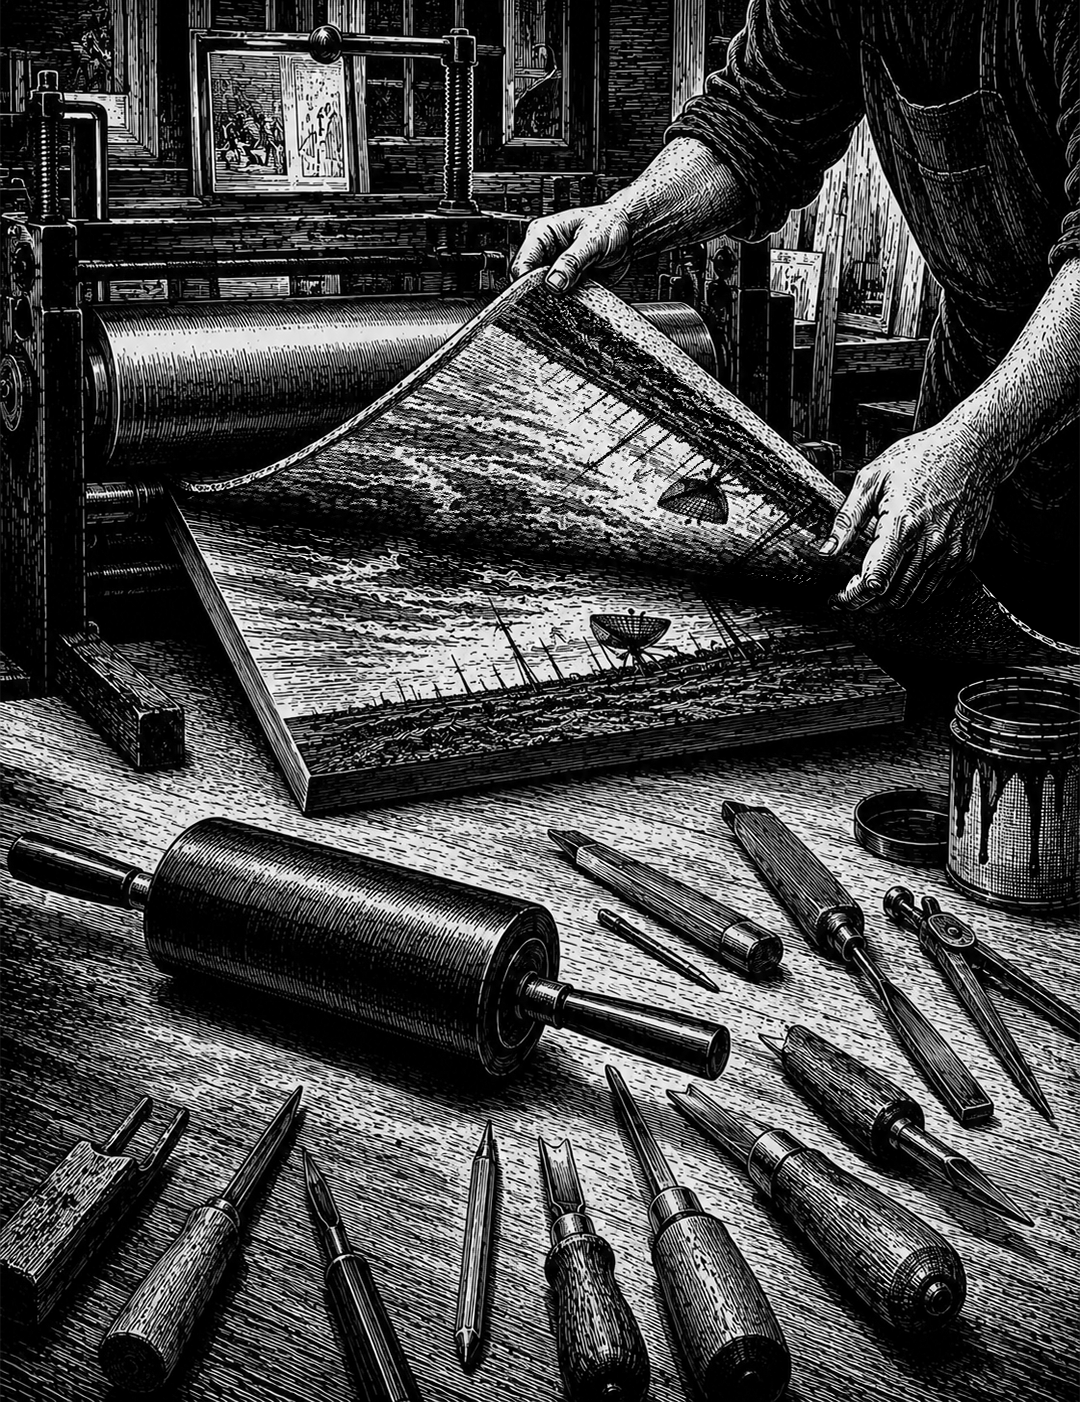
The paper is placed on the inked block with care. Once it touches, there is little room for error. A print can be made by hand with a baren, a wooden spoon, or another smooth tool that presses the paper against the ink. The pressure must be steady and complete. An etching press does the same work with steel rollers and measured force. When the paper is lifted, the print appears all at once. It is the first full look at what the carving has become. Some prints are finished on the first pull. Most ask for another cut, another layer of ink, or another attempt. The block teaches patience. The print tells the truth.
Acquiring a Print
Hand-Printed Originals
The original print will have the edition numbering it received when made and will be the stated dimensions shown in the gallery, plus 1.5" to 2" of white margin. Printed on Legion Stonehenge 250 gsm printmakers paper with oil based inks.
Archival Reproductions
Archival reproductions made from a high resolution scan of the A/P print from the edition. Made on acid-free paper using archival inks. Usually done at 1/3 the same size or at original size but some customization in dimensions can be discussed.
Contact me with any questions or inquiries.
Go to contact form →"Every civilization leaves monuments. Time leaves mysteries."